
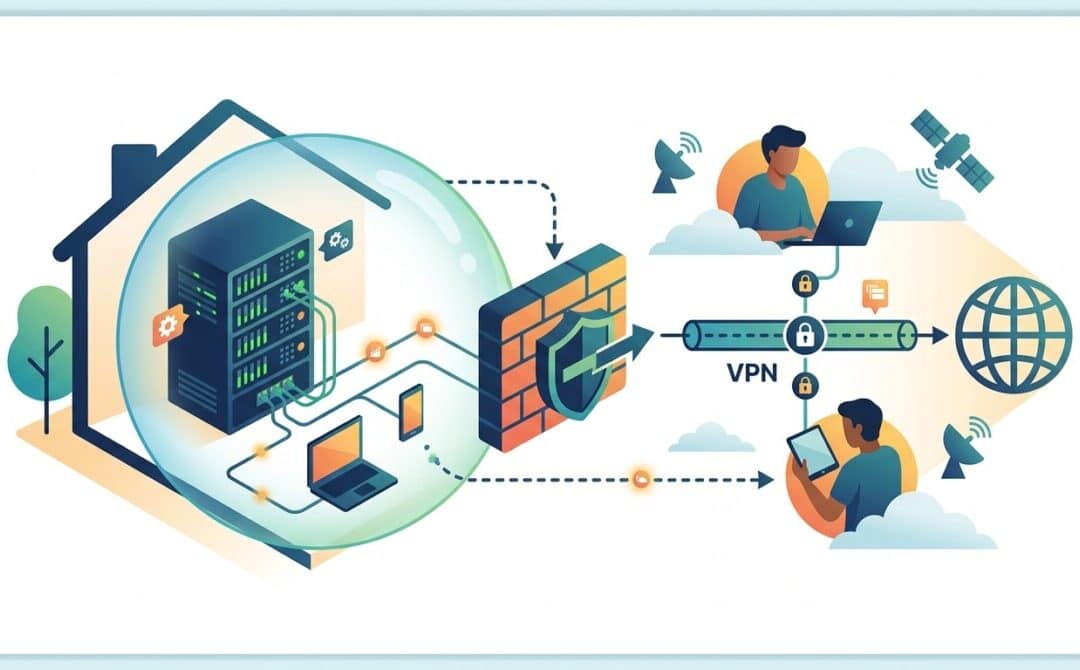
Setting up a home server that is accessible from the outside world is a popular project for hobbyists, tech-savvy individuals, and small business owners alike. The process allows you to use your server for purposes such as file sharing, hosting a website, or running custom applications. While the benefits are plenty, the task can also feel intimidating due to technical complexities and concerns around security.
Understanding the Basics of Home Server Configuration
The concept of making your home server accessible from outside your local area network (LAN) involves enabling remote access. This typically requires adjusting your router and server settings to allow incoming traffic through a safe and controlled mechanism. The essential components of this setup include:
- Your home server: The hardware or device where applications and files are hosted.
- Your router: The network interface managing incoming and outgoing traffic for your home network.
- Your external IP address: Your primary identifier on the internet, which enables devices outside your network to find your server.
Step 1: Configure Port Forwarding
Port forwarding is a fundamental technique to route external requests to your home server. It functions by opening specific ports on your router and forwarding them to your server’s internal IP address. For example, if your server runs a web application on port 8080, you would configure your router to forward external traffic from port 8080 to your server.
To set this up:
- Access your router’s admin panel (usually through its IP address in a browser).
- Navigate to the ‘Port Forwarding’ section.
- Add a new rule specifying the external and internal ports, along with the home server’s internal IP address.
Keep in mind that choosing non-default ports and disabling unused services can enhance security.
Step 2: Use Dynamic DNS
Most home networks lack a static IP address, which means the external IP can change frequently. This is where a dynamic DNS (DDNS) service becomes invaluable. DDNS creates a fixed domain name that updates automatically to point to your current IP address.
Popular DDNS providers include No-IP, DynDNS, and DuckDNS. Many modern routers offer built-in compatibility with DDNS services, making the setup process straightforward:
- Create an account with a DDNS provider.
- Input your account details into the DDNS settings on your router.
- Test the domain name to ensure it redirects to your current IP.
Step 3: Ensure Security Best Practices
Exposing your home server to external traffic increases your vulnerability to potential cyberattacks. Implementing proper security measures is essential to protect your system:
- Use a firewall: Configure your router’s firewall to block unauthorized access.
- Enable encryption: Utilize HTTPS or VPNs to encrypt incoming and outgoing data.
- Regularly update software: Apply updates and patches to eliminate exploitable vulnerabilities.
- Set strong passwords: Replace any default credentials with unique, complex passphrases.
Benefits of an Externally Accessible Home Server
Once your server is correctly configured, the potential use cases are almost limitless:
- File sharing: Access files from anywhere, serving as your personal cloud storage.
- Web hosting: Run websites or development projects on your server.
- Application hosting: Experiment with self-hosted apps like Nextcloud, Plex, or even game servers.
This setup can also contribute to cost savings when compared to relying solely on external cloud services.
Conclusion
Making your home server accessible from outside your LAN can be a rewarding project that provides more control and versatility over how you manage and share data. By following steps like port forwarding, enabling dynamic DNS, and securing your network, you can achieve this goal with confidence. It’s important to remain vigilant about security to ensure the benefits outweigh the risks.
If done properly, you’ll have a powerful tool that meets both personal and professional needs—all hosted in the comfort of your home.