
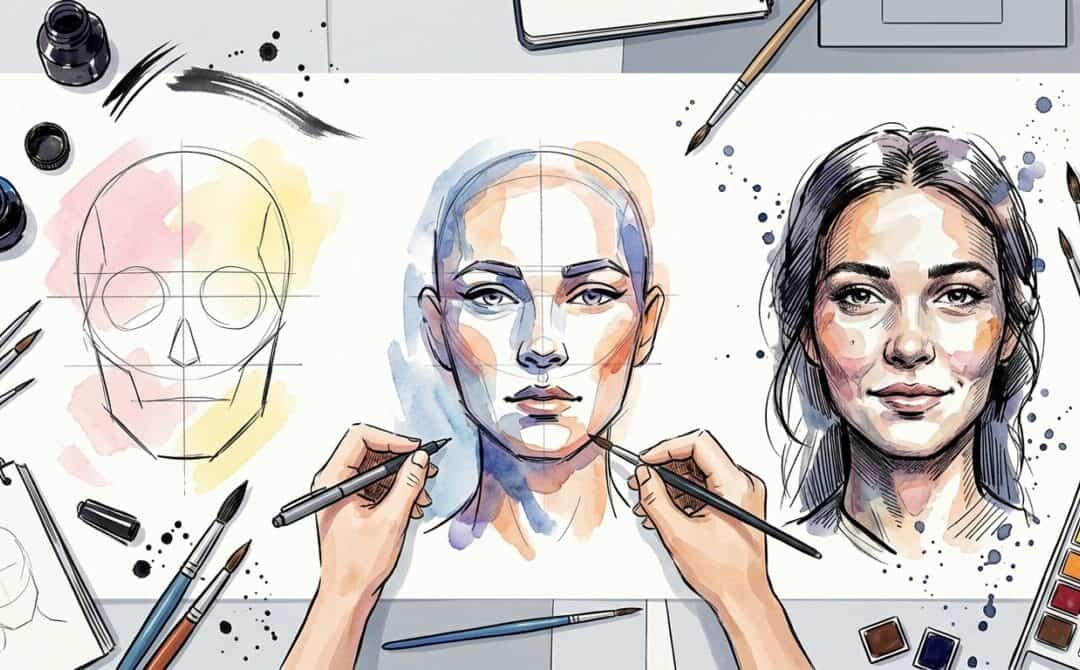
Sketching faces can feel intimidating, but with the right approach, you can create loose, expressive portraits using ink and watercolor. In this step-by-step tutorial, Sketching Scottie demonstrates how to sketch a side-view portrait with a focus on simplicity and structure. Here’s a summary of the key techniques and tips shared in the video.
Step 1: Establish the Basic Structure
Start by creating a foundational structure for your sketch. Scottie uses a circle with four dots to estimate proportions. Here’s how to do it:
- Draw a circle using dots to mark the top, bottom, and sides.
- Use these dots to guide the placement of the head and features.
Once the circle is in place, sketch the outline of the head, including the beanie, chin, and neck. Keep your lines loose and fluid to maintain a natural look.
Step 2: Add Facial Features
With the basic structure complete, begin adding facial features. Scottie breaks the face into three sections: from the hairline to the brow, from the brow to the bottom of the nose, and from the nose to the chin. Here’s how to place each feature:
- Brow: Start with a loose outline of the brow shape.
- Nose: Use angles to define the nostrils and the bottom of the nose. Pay attention to how far the nose extends from the face.
- Eyes: Position the eyes between the brow and the nose. Keep them proportional to the width of the nose and avoid making them too large.
- Mouth: Place the mouth about two-thirds of the way between the nose and the chin. Sketch the lips and the opening of the mouth with gentle curves.
Scottie emphasizes using observation and comparison to ensure accurate placement of features.
Step 3: Add Hair and Accessories
Once the facial features are in place, move on to details like hair and accessories. For hair, Scottie suggests using short, directional lines to indicate texture and flow. When drawing accessories like glasses, start with the center and work outward, keeping perspective in mind.
Step 4: Incorporate Watercolor
After completing the ink sketch, it’s time to add watercolor. Scottie uses a combination of burnt sienna, cadmium yellow, cadmium red, and Payne’s gray to bring the portrait to life. Here are some tips for applying watercolor:
- Leave small gaps to indicate highlights.
- Use light washes for the base layer and add more saturated colors for depth.
- Incorporate shadows with a purple or gray tone to create dimension.
Scottie also suggests using a fine-tip pen for highlights and final details, such as straps, buttons, or texture in clothing.
Step 5: Practice and Experiment
Scottie encourages viewers to practice these techniques and experiment with different styles. For more in-depth tutorials, reference templates, and a supportive community, Scottie recommends joining their Patreon page.
Conclusion
Sketching faces loosely is all about embracing imperfection and focusing on the overall structure and flow. By following Scottie’s step-by-step guide, you can create expressive portraits that capture the essence of your subject. With practice and experimentation, you’ll develop your own unique style.
Source: How to Draw Faces Loosely | Step-by-Step Tutorial & Pro Tips